
Months of work are behind you—development, testing, and bug fixes. Now your app is finally ready to be uploaded to the App Store. You head to Apple’s website for instructions, but the maze of articles and cross-references quickly sends you into a panic. Even the checklists from Gemini and ChatGPT don’t help.
So here’s a step-by-step guide and final checklist for publishing an app on the App Store without risking a rejection

Prior to uploading an app, it’s important to understand which tools are required. There are three key components in the App Store ecosystem:
You shouldn’t start with Xcode or even App Store Connect, but with registering for the Apple Developer Program.
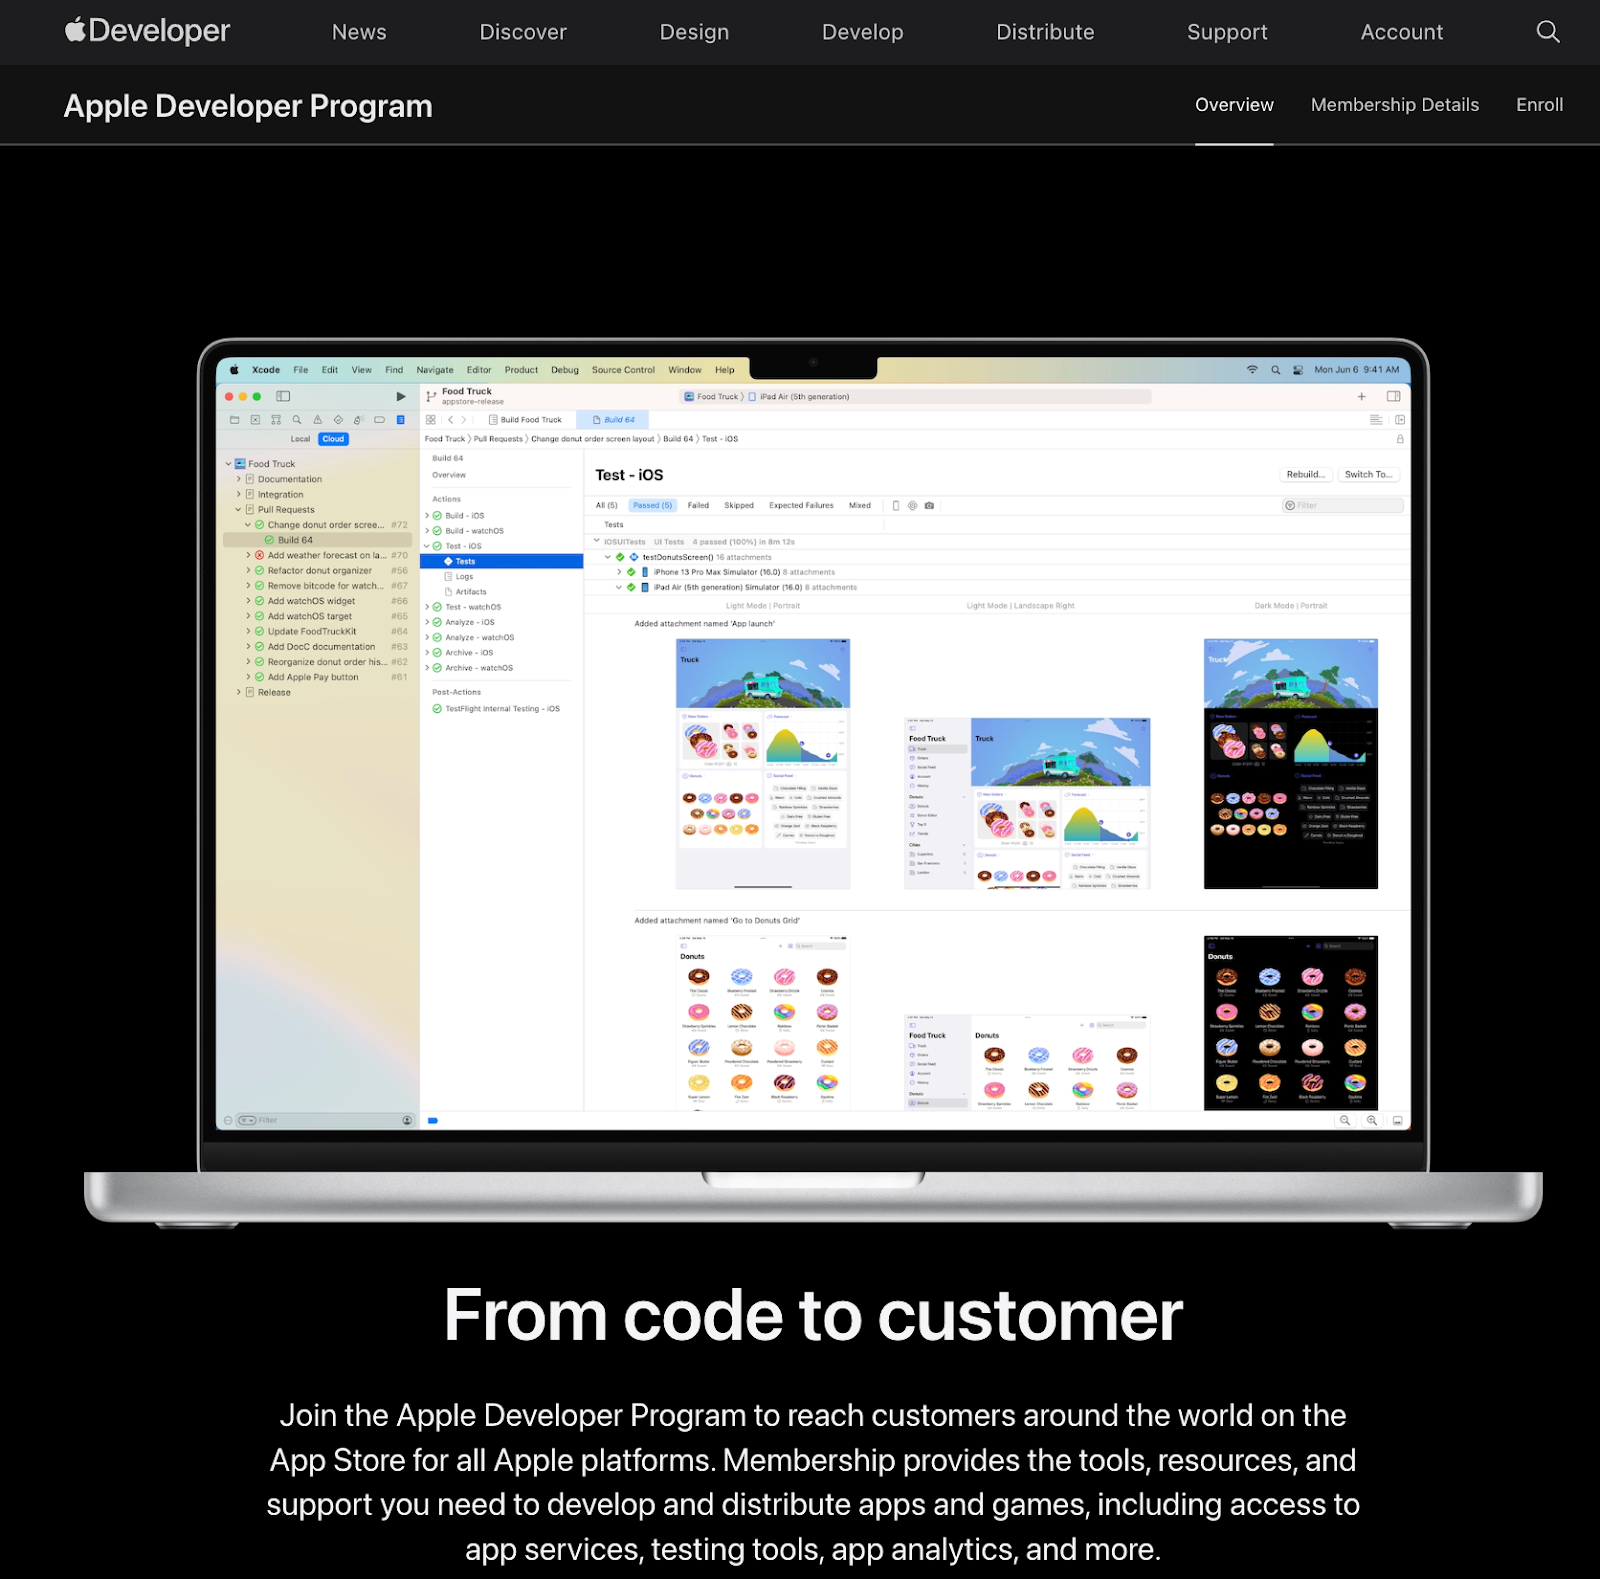
An annual subscription ($99/year) from Apple allows developers to publish apps on the App Store (iOS, macOS, watchOS, tvOS), test them via TestFlight, use advanced APIs, and access software betas. It is essential for fully engaging with the Apple ecosystem.
Without the Apple Developer Program, Xcode won’t allow you to create a release build, and you won’t be able to create an app page in App Store Connect. So, the first step is to register for an account.
There are two types of accounts in the App Store:
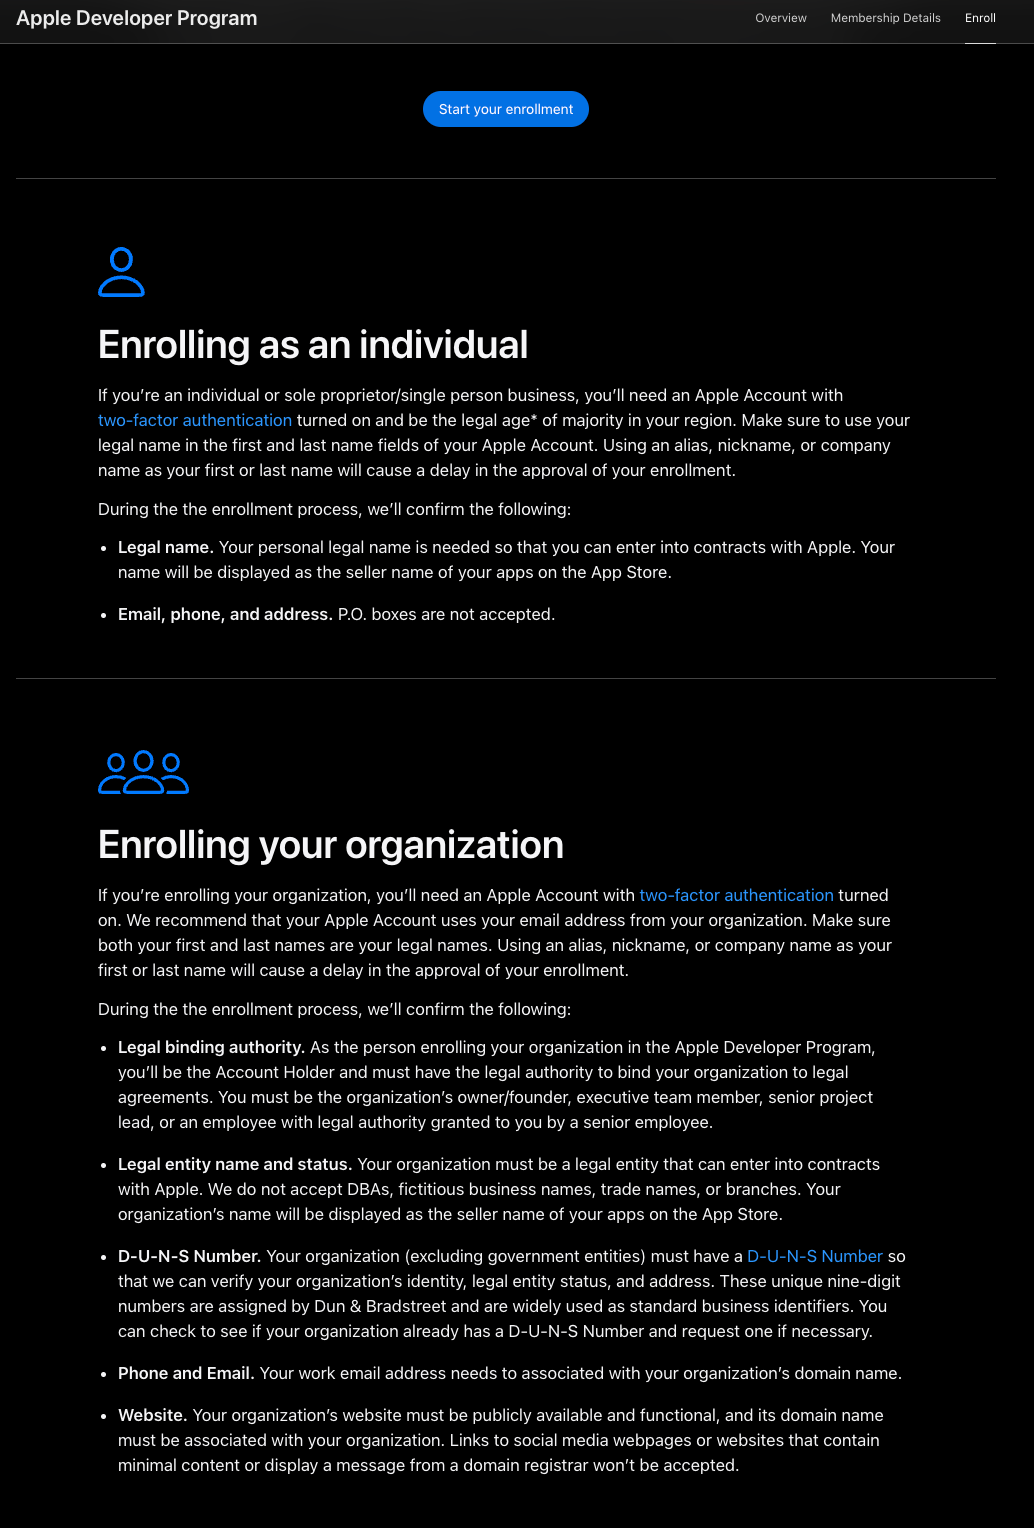
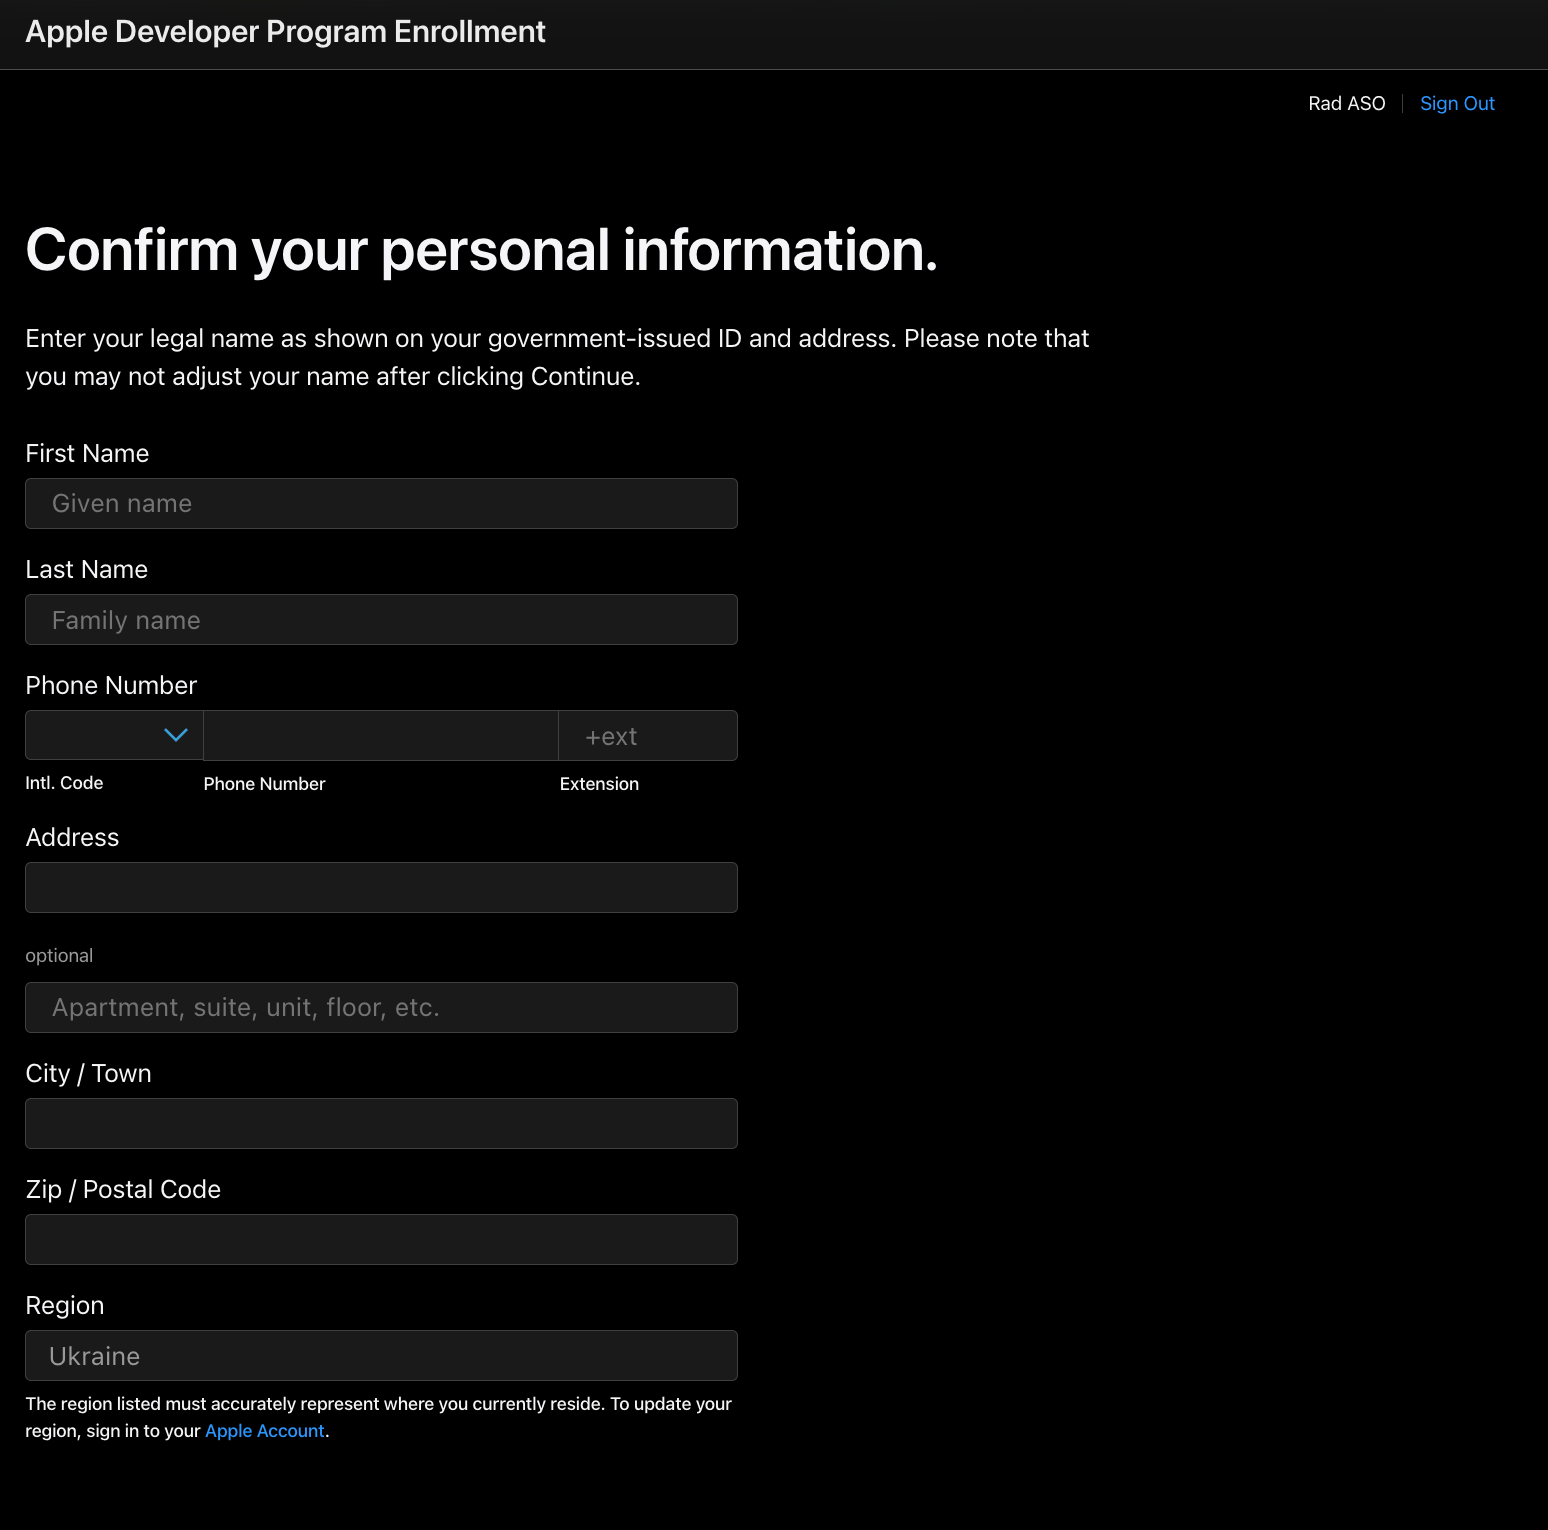
An individual account is easier to set up. You will need:
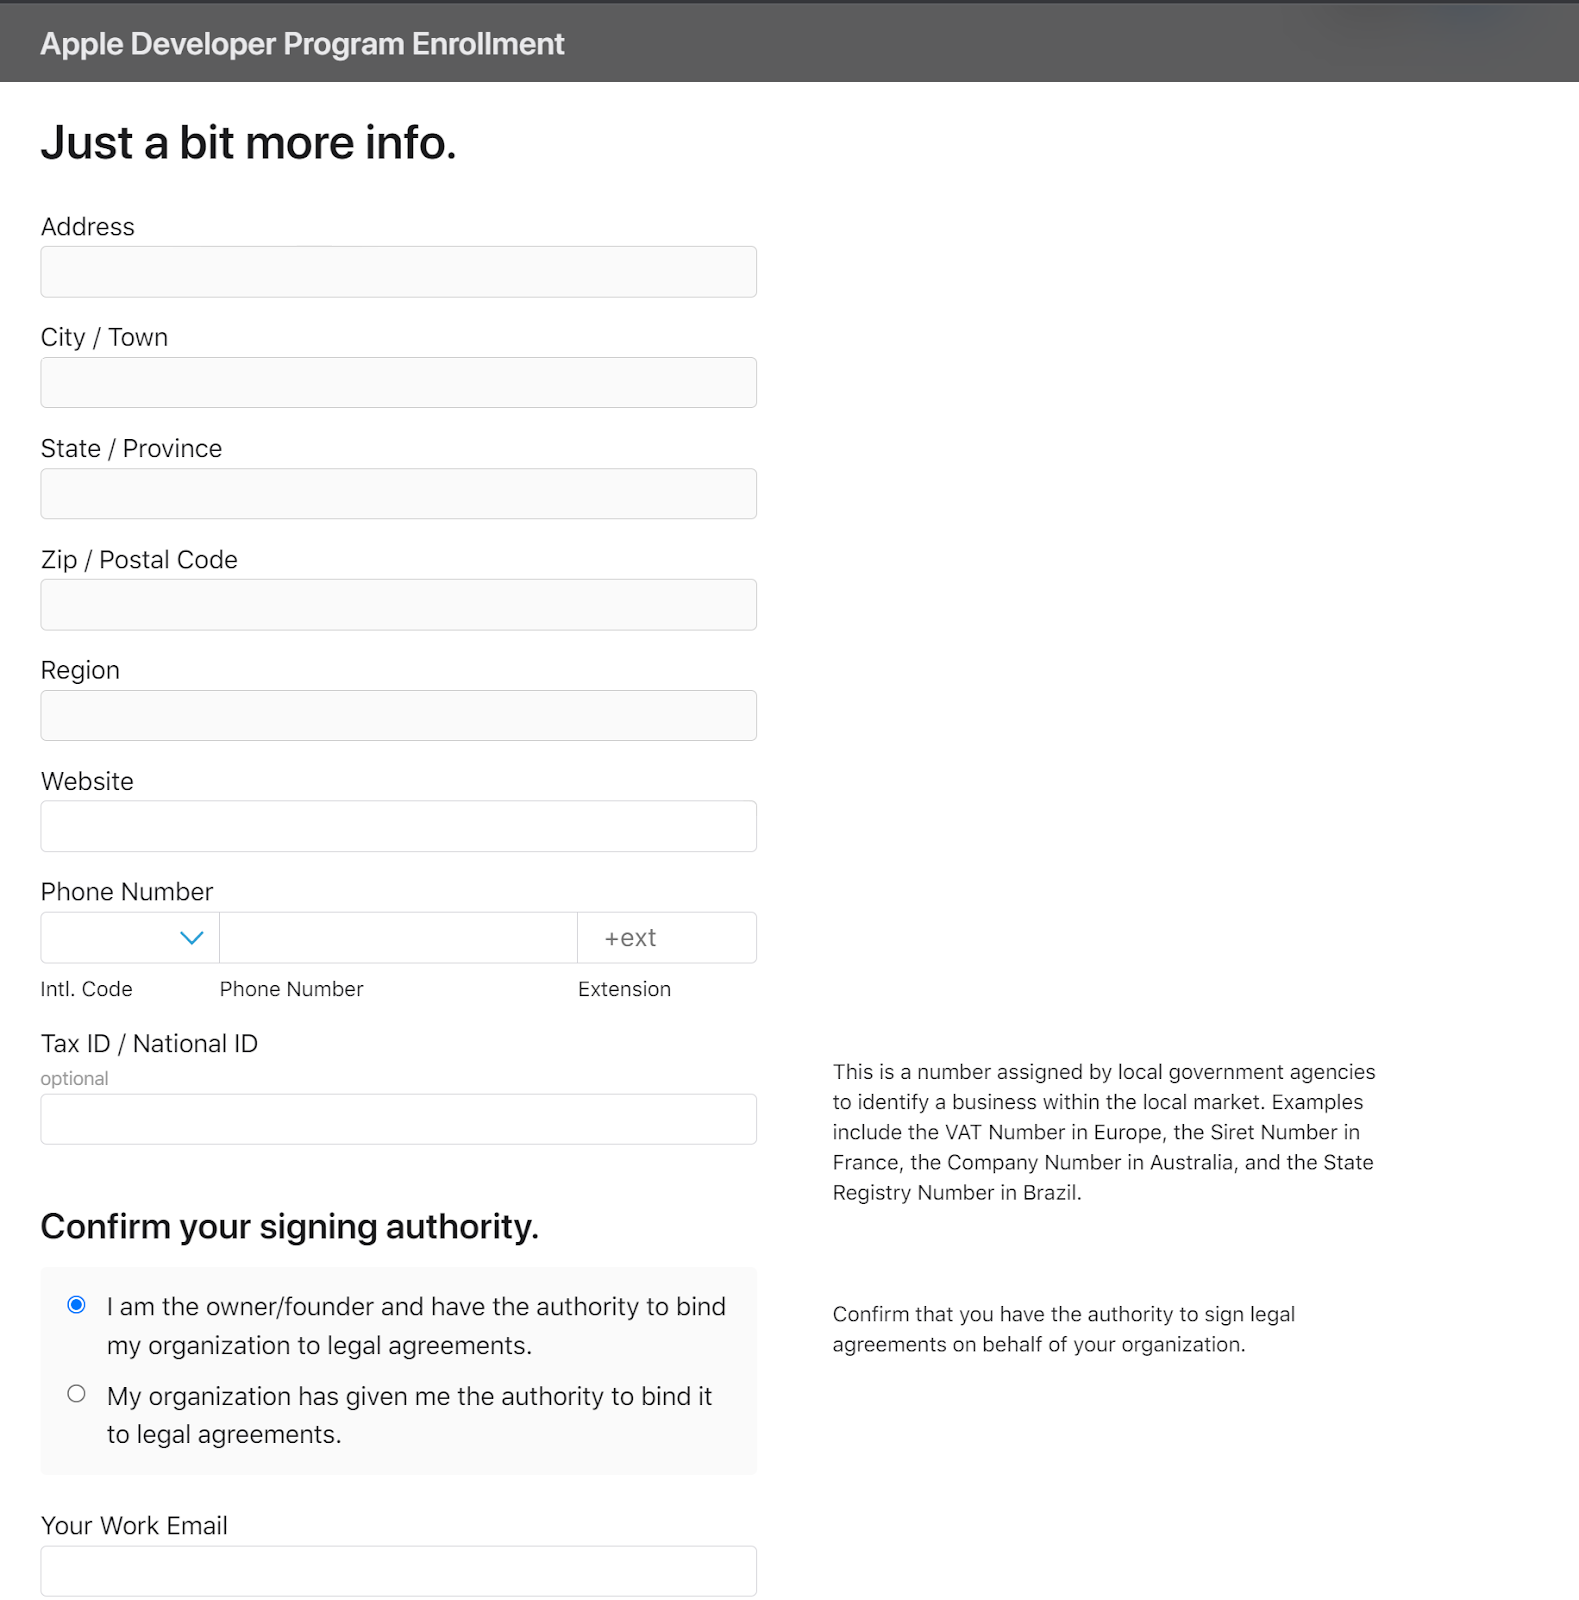
Apple’s requirements for an organization account are stricter. You will need:
1. Legal binding authority — the full name of the person registering the organization with the Apple Developer Program. This must match the name on their Apple ID. The person must be the account owner and have the legal authority to sign documents and enter into agreements. In short, this can be the owner or founder of the organization, a member of the executive team, a senior project manager, or any employee with the appropriate legal authority.
2. Legal entity name and status — the company’s official name and legal status. The organization must be registered as a legal entity. Business names, fictitious company names, trade names, or branch names are not accepted. The organization’s legal name will appear as the app seller in the App Store.
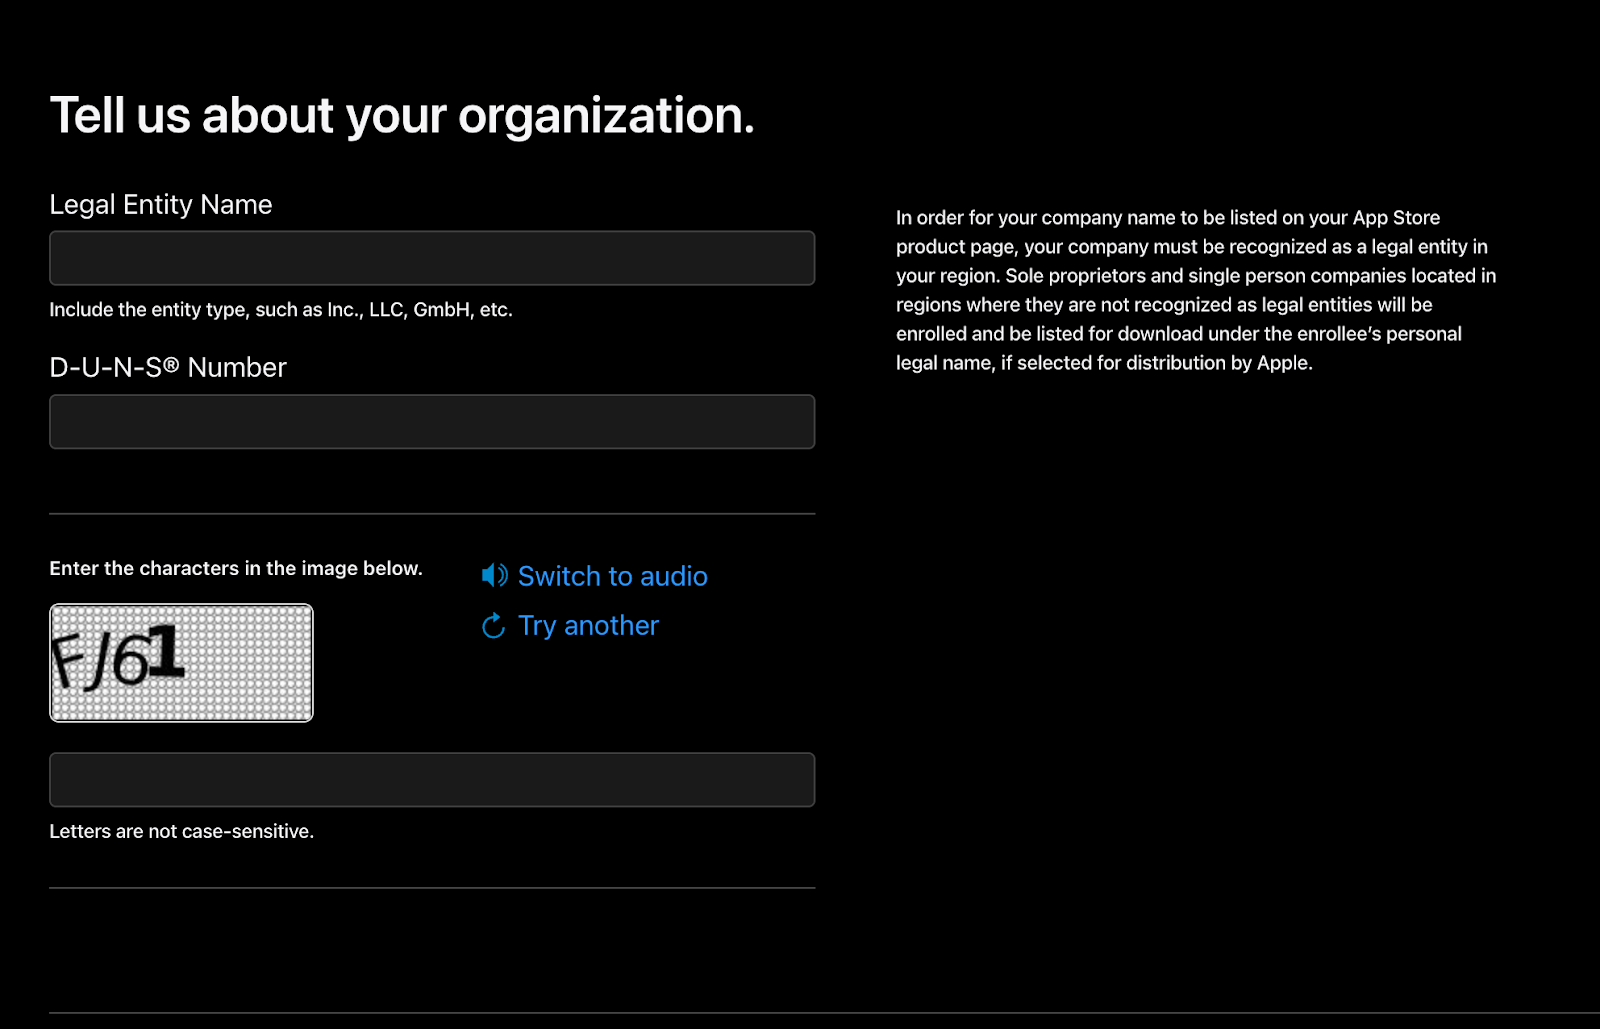
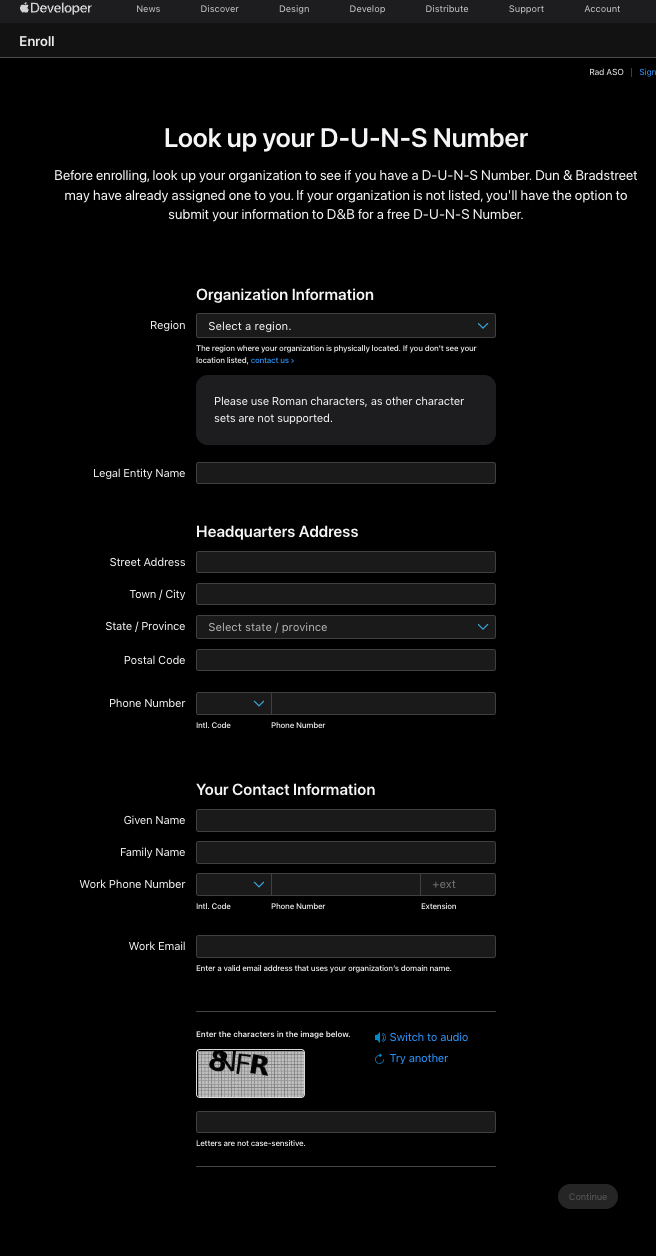
3. D-U-N-S Number. The organization (except government agencies) must have a D-U-N-S number so that Apple can verify its identity, legal status, and address. These unique nine-digit numbers are issued by Dun & Bradstreet and serve as standard business identifiers. You can check whether your organization already has a D-U-N-S number and, if needed, request one directly from Dun & Bradstreet — the only official provider.
4. Phone and Email. The organization’s work email address must be associated with the organization’s domain name. Email addresses ending in @gmail.com or @outlook.com often cause delays or trigger additional verification checks for organizations.
5. Website. The organization’s website must be publicly accessible and fully functional. Links to social media pages, minimal-content sites, or pages showing messages from the domain registrar are not accepted.
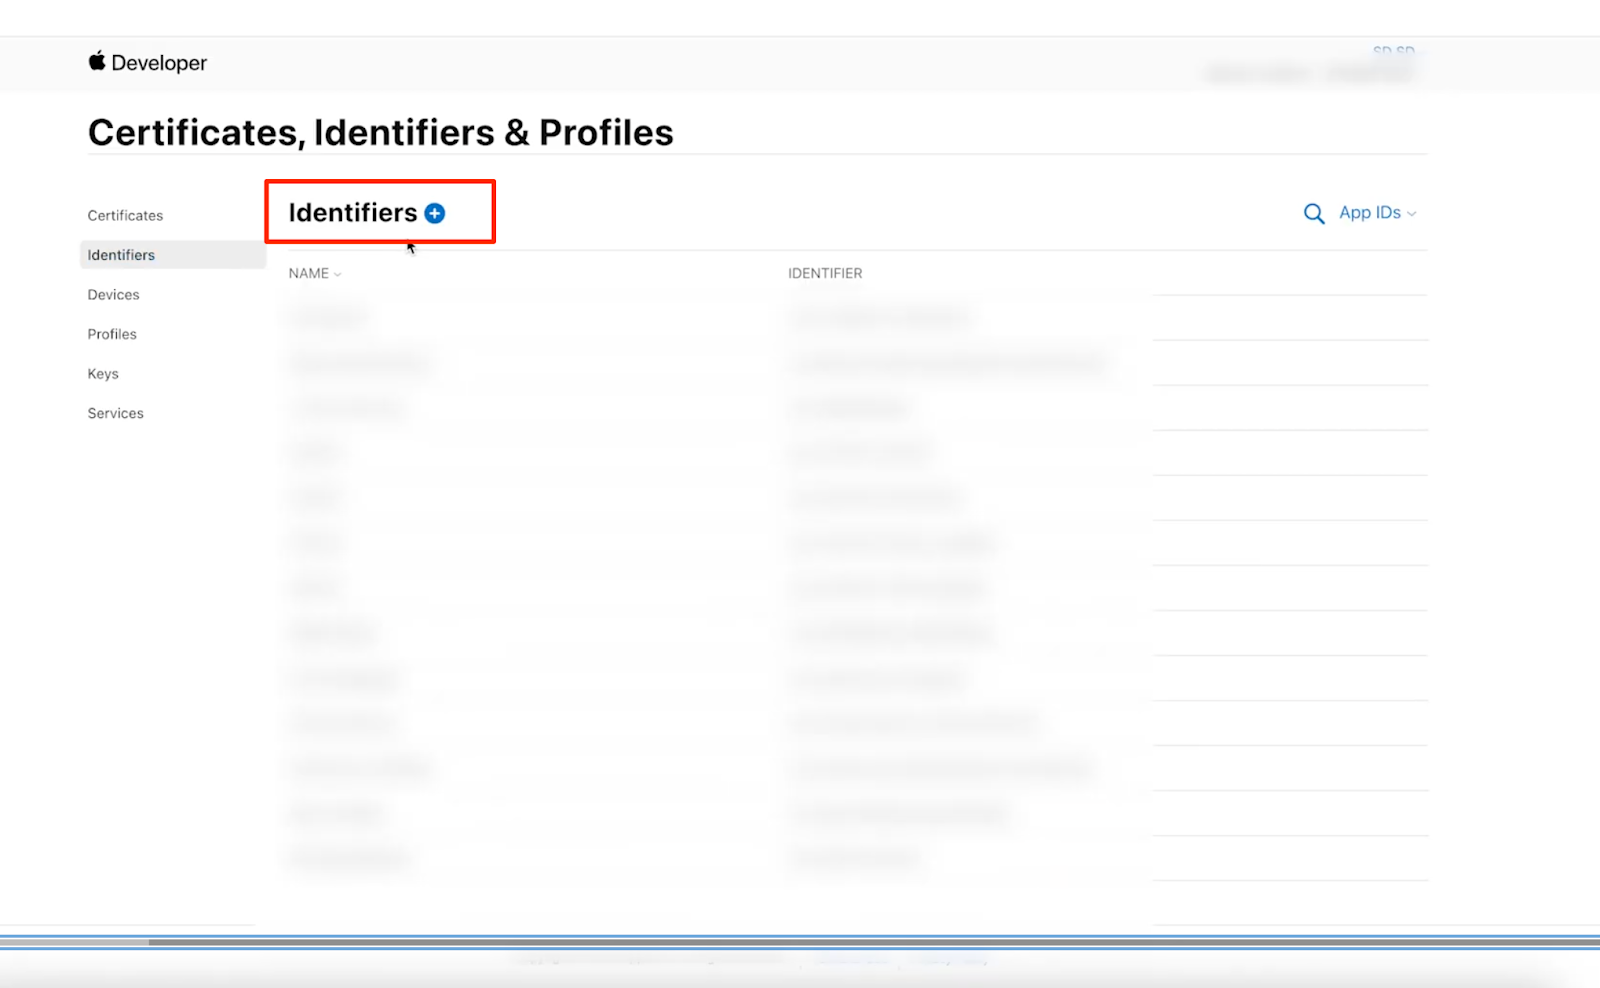
Most issues with initial app releases stem from choosing the wrong account type—when it doesn’t align with your strategic development plans. For example, with an Individual account, you cannot add developers in the Certificates, Identifiers & Profiles section. This means the owner must either create certificates themselves or share their Apple ID, which is unsafe.
Additionally, the Seller Name field in the App Store displays an individual’s name rather than a company name, which can undermine user trust and complicate the eventual transition to a brand name. Switching from an Individual to an Organizational account can take several weeks.
Registration for the Apple Developer Program is free, but submitting an app to the App Store requires a $99/year fee. Payment can be made at the time of app submission (publication).
Once your Apple Developer Program membership is activated, you’ll gain access to App Store Connect.
To configure your app page, select My Apps — New App from the menu. Next, create an App Record. To do this, fill in the following fields:
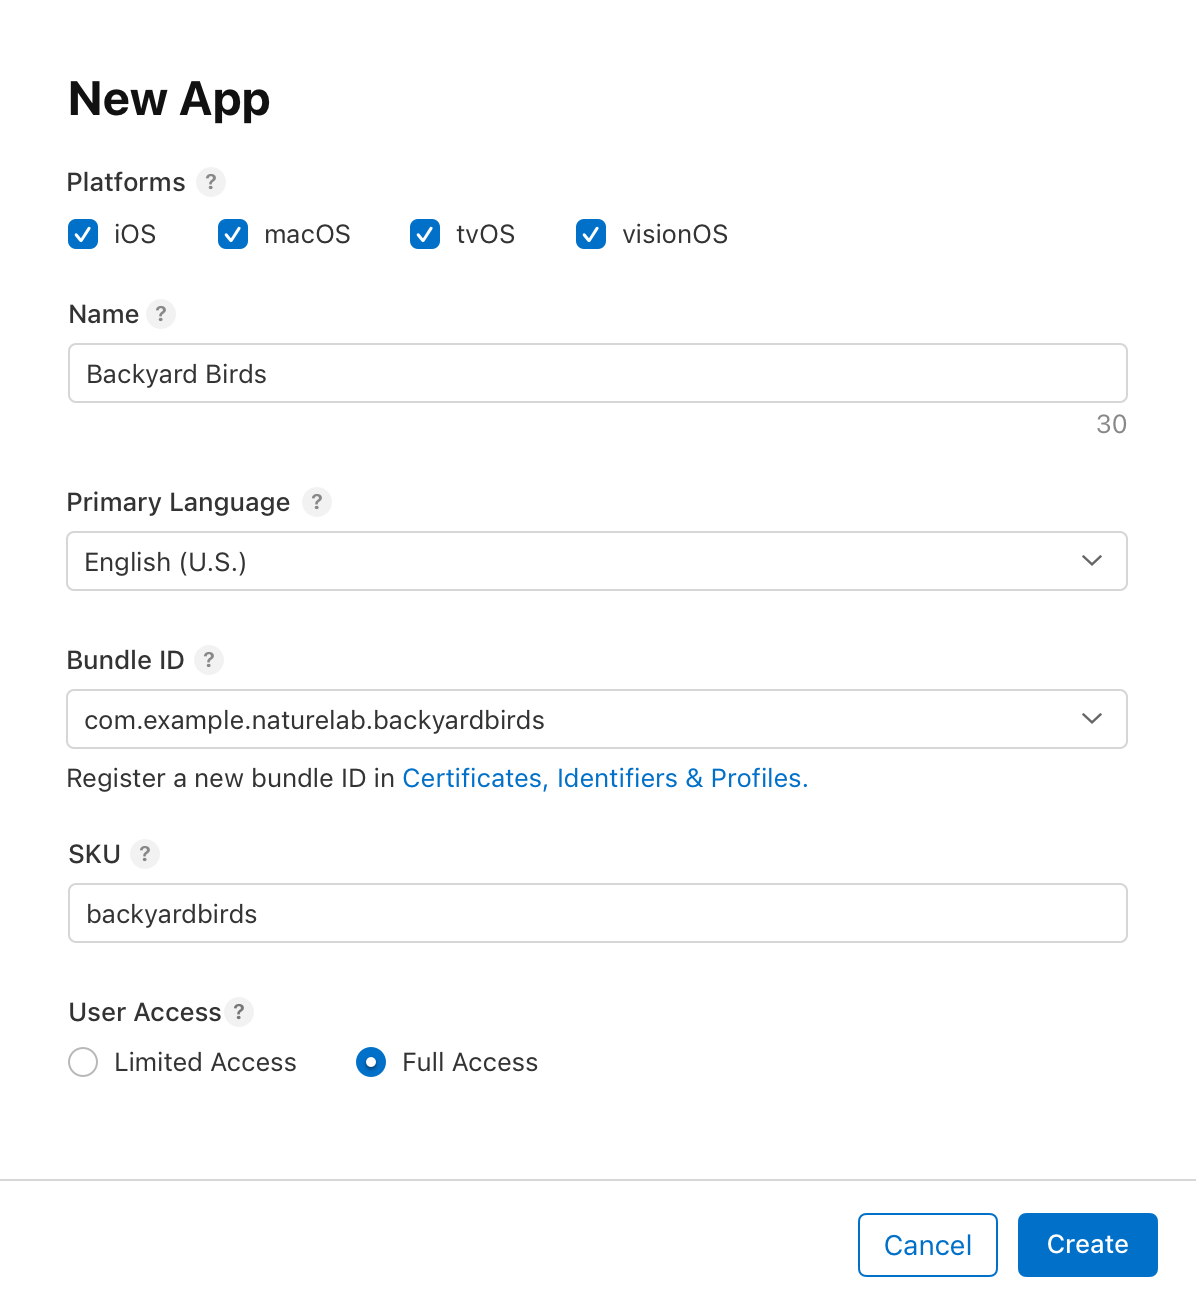
After registration, the Bundle ID will appear in the drop-down list for the corresponding field in App Store Connect.
Next, you need to fill out three basic sections of app information. You can edit these later.
General information:

In this section, you must accurately disclose what data your app collects and how it is used. Based on your answers, Apple generates a Privacy Nutrition Label, which users can see on the App Store.
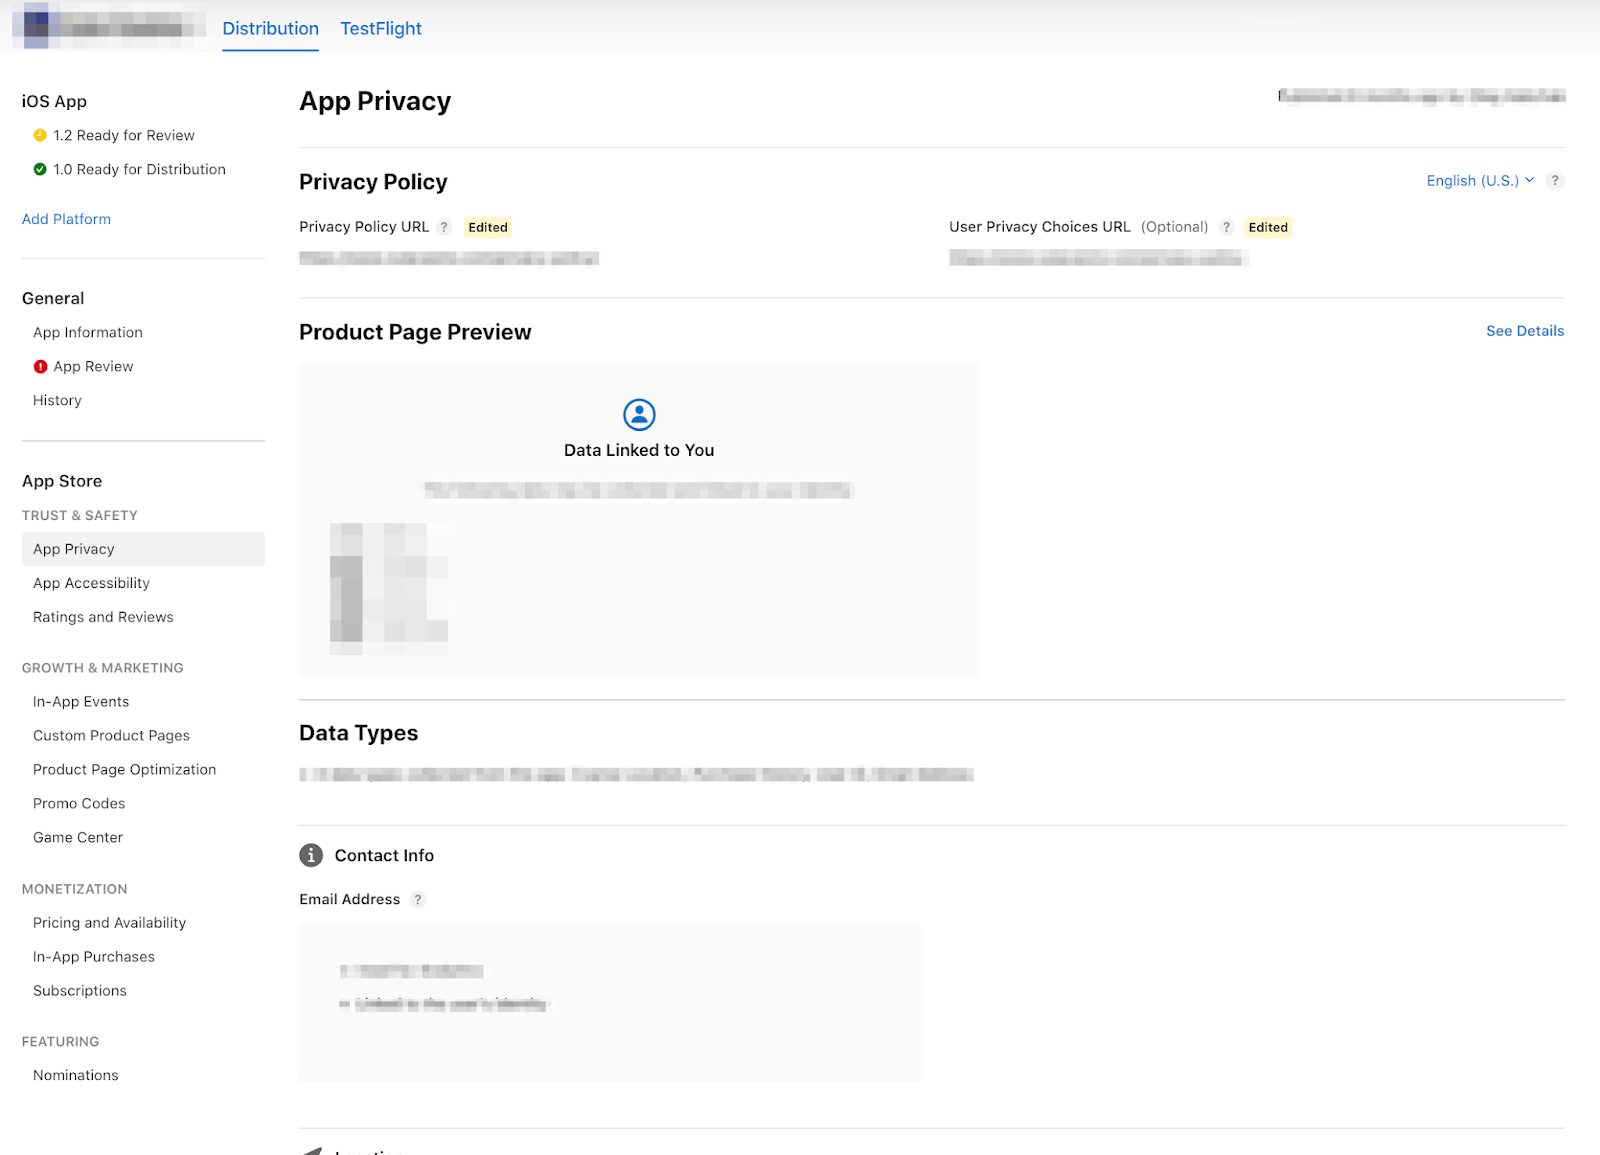
If your app includes subscriptions or in-app purchases, you create them in this section and later link them to the build. You must also provide a Privacy Policy URL, which links to your app’s privacy policy.
At this stage, you already have a “container” for the build, but the build itself does not yet exist.
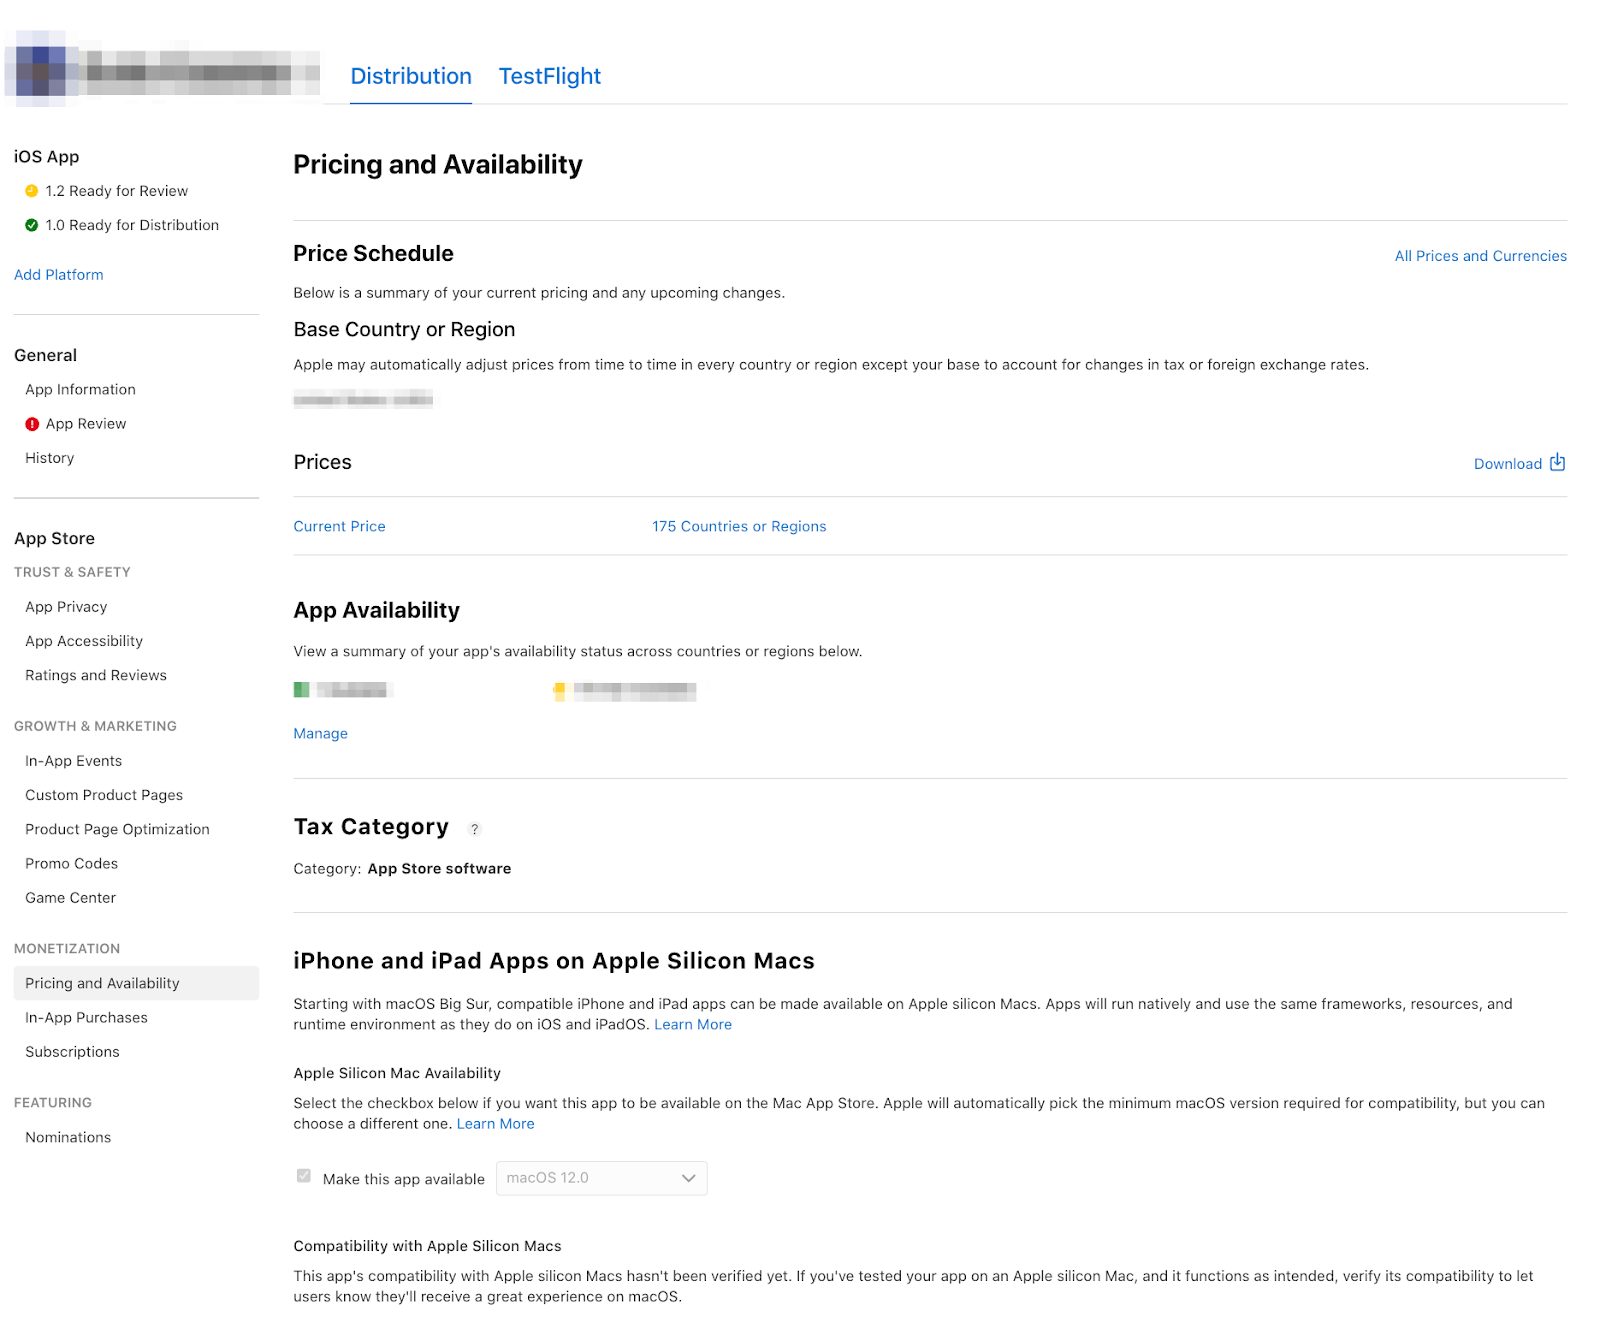
In this section, you must specify where and when the app will be available in the App Store, as well as its price. You can select all countries or only specific ones, and you can also set up a Pre-order. Users who subscribe to the app page will have it downloaded automatically once it’s released.
Once you’ve finished configuring the settings, a version of the app marked Prepare for Submission will appear under the iOS App section.

If this is the first version, it will appear automatically. Subsequent versions must be added manually by clicking the “+” next to “iOS App.”
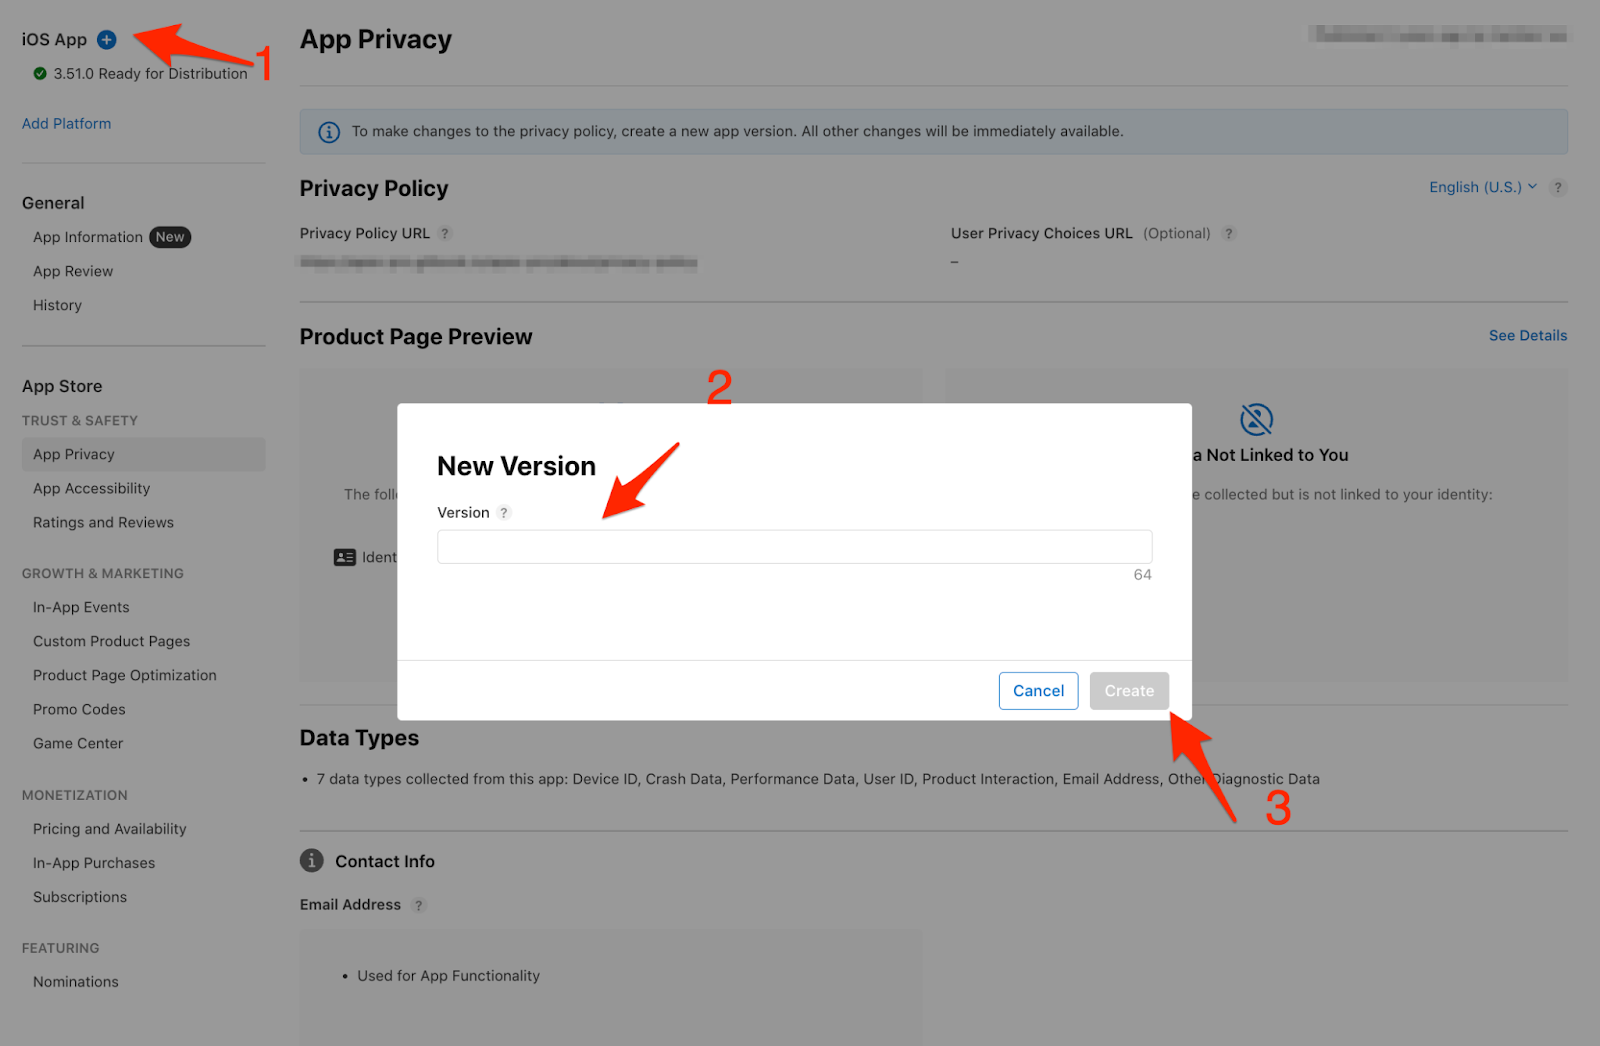
Once you open it, you can:
The app icon is not added as a separate file; it must already be included in your project’s resource directory in Xcode.
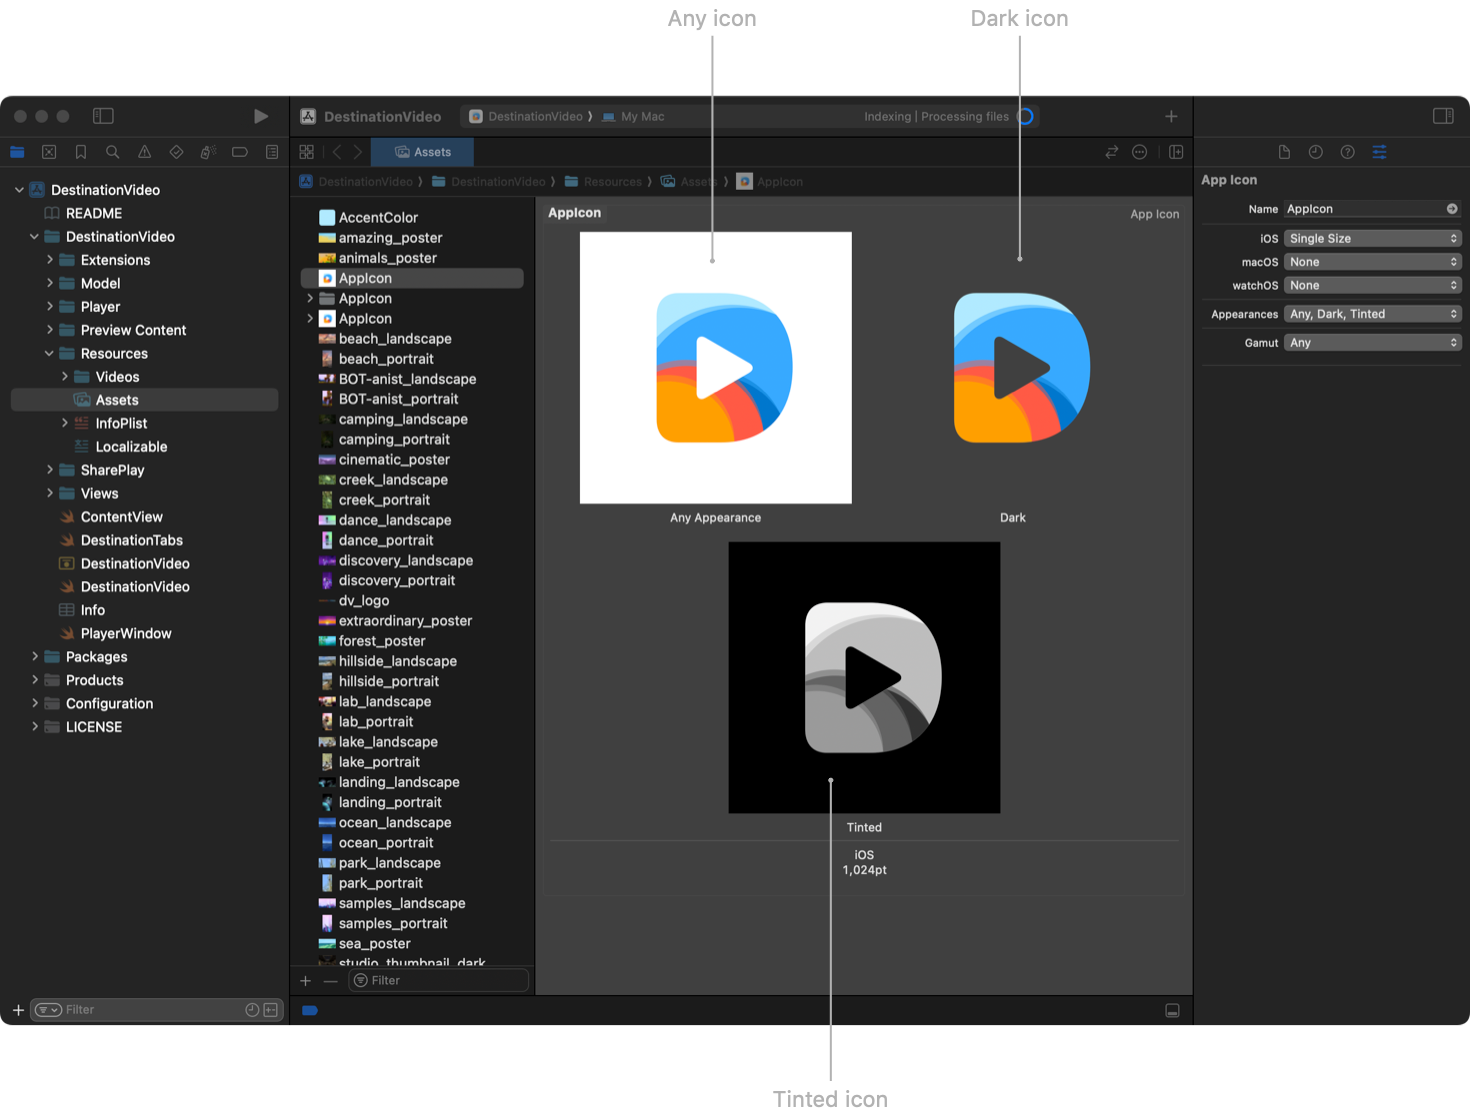
After adding the icons in Xcode, upload the build to App Store Connect, in the Build section. The fields above on this page will then be populated automatically based on the information you entered earlier.

Note: the title, subtitle, keywords, screenshots, and icon are not just decorative elements and hashtags. This metadata is the result of thorough research, including analyzing competitors and applying the most effective design practices.
Here, my colleagues discussed how to promote an app in the App Store, and we’ve created a checklist to help you fully prepare your app for release and thoroughly analyze the results. Also, read about 75 mistakes in ASO optimization.
Xcode is the “backbone” of the app. It can only submit the build to the App Store if:
The App Store also requires distribution certificates, which used to be created manually on Apple’s website. As of now, if “Automatically manage signing” is enabled, Xcode handles all the setup automatically.
After uploading, the build is processed in App Store Connect and also appears in TestFlight — the beta testing environment.
Return to the Versions tab (for example, 1.0 Prepare for Submission) and prepare the app for release by following these steps:
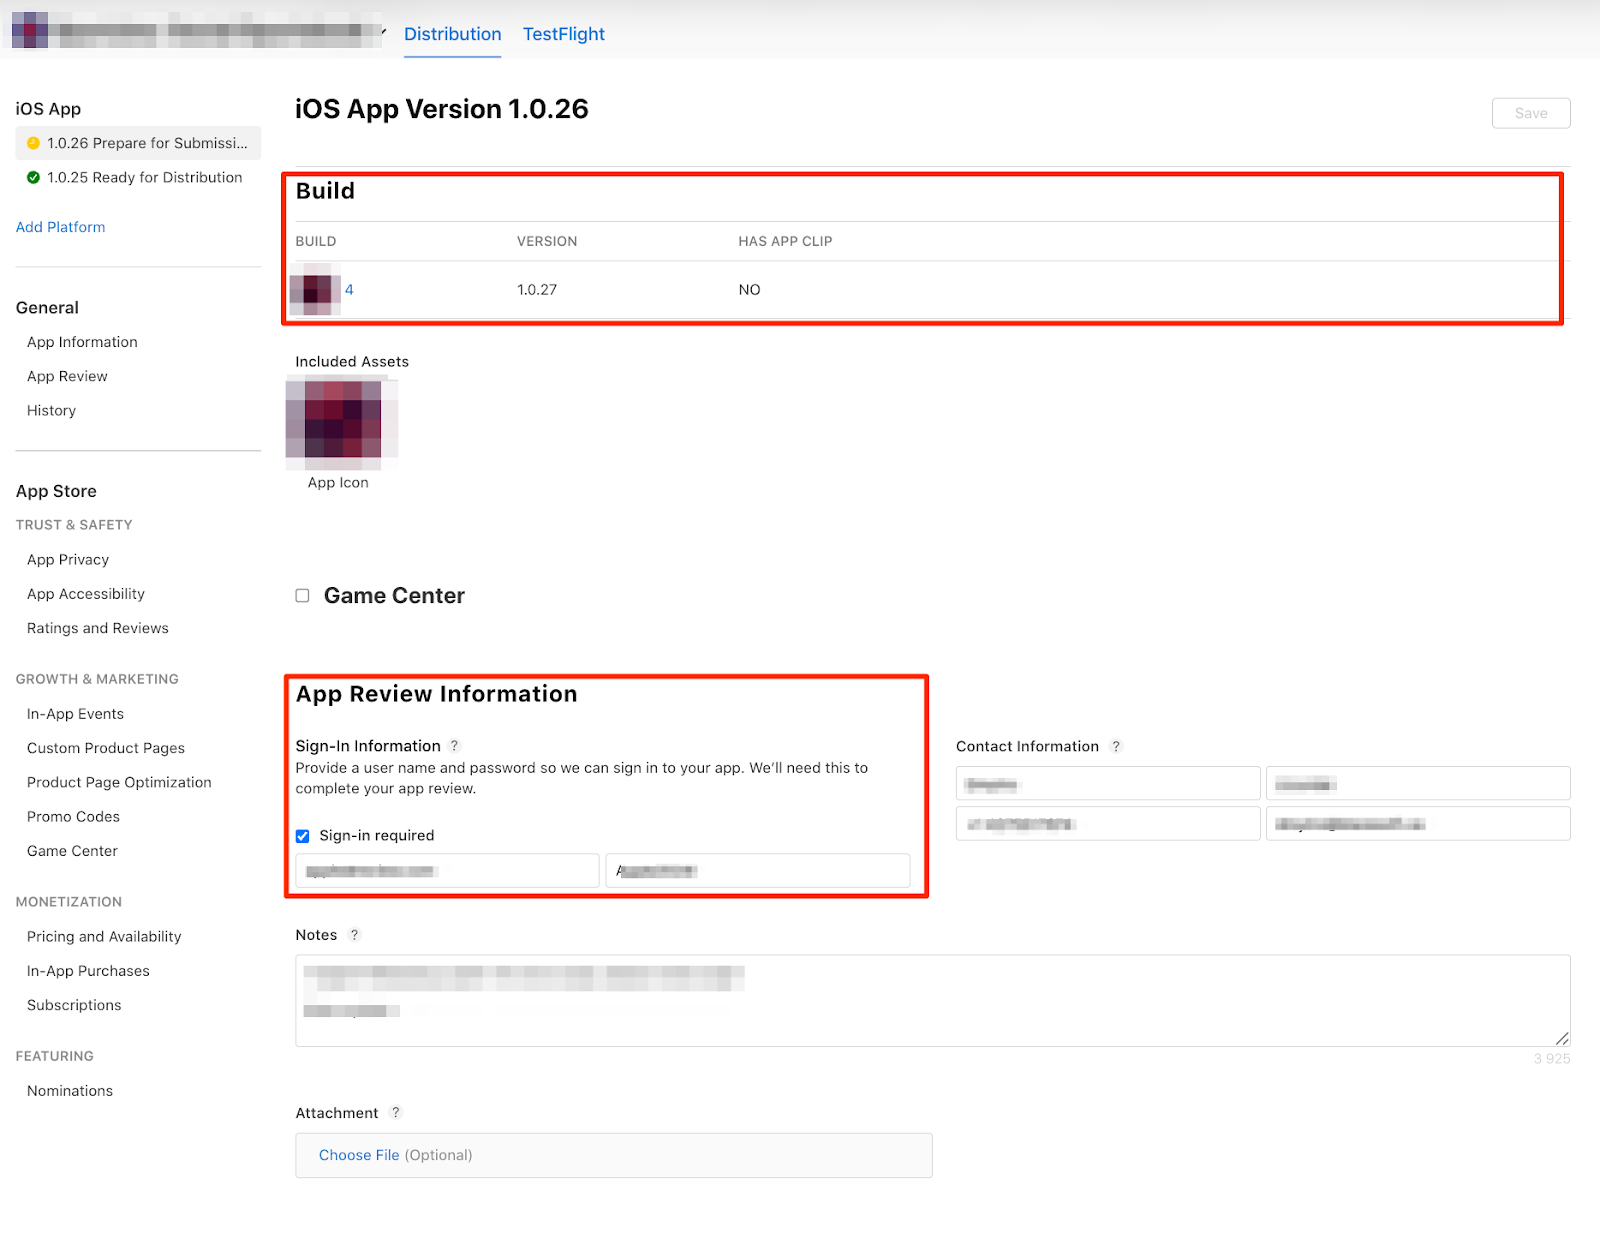
Before publication, Apple will ask standard legal questions regarding whether the app includes:
These are closed-ended questions that can be answered with either “yes” or “no.” They are important for the review process and copyright compliance. The Submit button will remain inactive until all questions are answered.
After submission, the app’s status changes to “Waiting for Review.” The review typically takes 24–48 hours.
The most common reasons for rejection:
Releasing an app to the App Store isn’t just about hitting the “Launch” button. It’s a step-by-step process, with each system handling its own part. By following the process calmly and in order, the App Store stops being a source of panic and becomes a predictable tool for growth.
Before the review:


.avif)